
A first attempt at candle making
A long time ago I discovered that one of the best ways to switch off from everything else was to make things. When you’re completely focused on crafting something it’s hard to worry about life’s stresses at the same time, so it’s relaxing and therapeutic. When I was at university one of my escapes from studying was origami (I’ll post some pics on here of some of my models sometime – I still have them all!), and the latest thing I’ve decided to have a go at is candle making. Since my mother-in-law shares my love of candles, we decided to learn the art of candle making together. We embarked on our new creative project using this lovely candle making kit from Kirstie Allsopp.
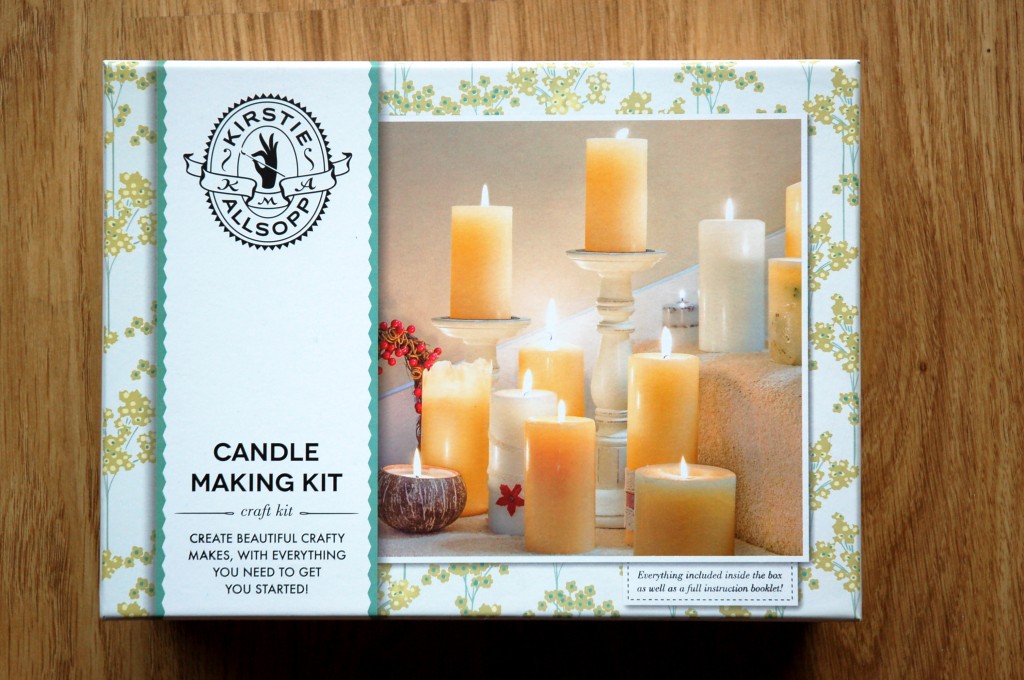
It contains everything you need to make a few candles, including the wax, an acid substance that I’ll explain later, wooden stirrers, wick, wick tabs and a mould for a pillar candle.

In addition to these things, you’ll need an old saucepan that you don’t mind writing off (you won’t be able to use it for food again), plus any colouring and scent you might want to add, and decorations. We used dried rose petals, but you could also decorate your candles with ribbons, sequins, glitter and that kind of thing.
The instructions in this pack aren’t always that clear, so we weren’t sure whether or not we’d interpreted them properly. The candles worked though, so we obviously did something right! Here’s how we did it.
Step 1
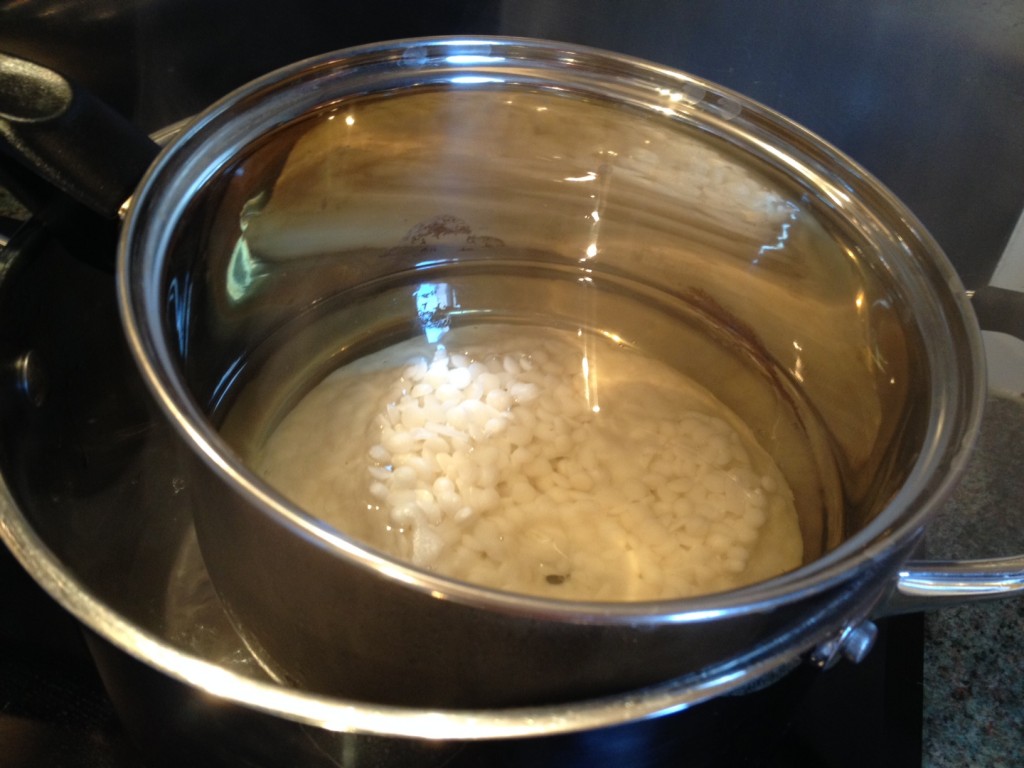
Boil the kettle and put three or four inches of boiling water into a large pan (keep checking it throughout the process to make sure it doesn’t boil dry). Then put the smaller pan inside the larger one, as you would if you were melting chocolate. We started with half a kilo of wax pellets, equating to one of the bags included in the kit; to this, we added the recommended three teaspoons of the stearic acid, which is meant to harden the wax so that the candles burn longer. With hindsight I think I would have added more acid than this, as the candle burnt down really quickly. Melt the wax like so.
Step 2
While the wax was melting, we prepared the wicks. We couldn’t really figure out what the instructions were telling us to do, so we had to come up with our own method for this bit. We noticed that the wooden stirrer things included in the pack had little holes in them, which we assumed must be to put the wick through (this is never explained in the instructions), so we cut longer wicks than the recommended 2cm above the intended height of the candle. This way, the wicks would reach the stick balanced on the top of the mould and thread through the little hole once we’d put them in the candle. Thread the other end of the wick through the wick tab and use some scissors to squeeze them tight so they don’t fall off. The wicks need to be coated in wax and left to dry, so we used tongs to dip them in the melting wax and then set them on some foil to dry. They can come out quite curly once they dry, so try to make sure they dry straight so that the wick will go straight down the middle of the candle.
Step 3
Add dye and/or scent to the melted wax if you want to, and then you’re ready to pour the wax into the mould that’s included, or any other glass jars or empty tealight containers you want to use. Another thing that wasn’t explained in the instructions: there’s a little hole at the base of the mould, which will need to be covered using the mould sealer (a blue tack-like substance included in the pack) to stop the wax escaping. You don’t have to fill the mould right up to the top; you can make the candle as tall or short as you want.
Step 4
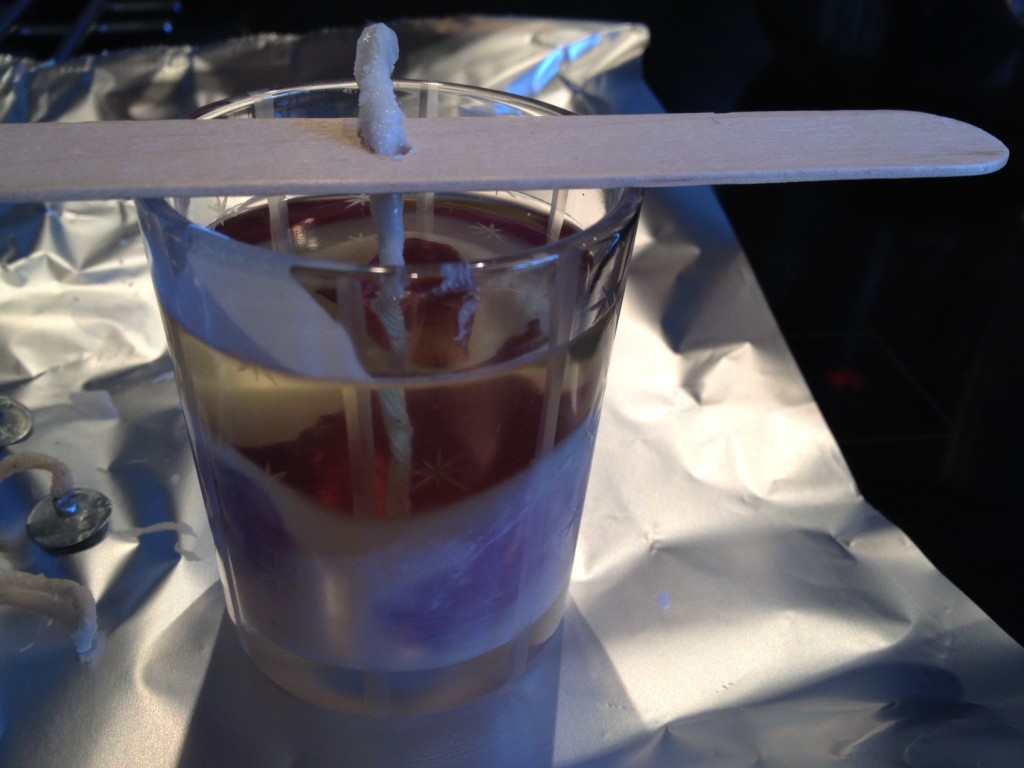
One of our candles was in a small glass jar, so we decided to use this one to experiment with the rose petal decoration. We put a little bit of wax into the bottom of the jar and rolled it around the edge, quickly adding the rose petals into the wax on the side before it set (easier said than done!). Then we added a bit more wax and coated the petals to make sure they stuck, before filling in the rest of the jar with wax. The idea was that you’d be able to see the rose petals through the side of the glass, on the edge of the candle, and it sort of works, as you can see in this not-very-good photo of said candle as it was starting to set. You can also see a prepared wick awaiting a candle in the left of this picture.
Step 5
Now the tricky bit: adding the wicks. Kirstie says to wait until a skin has formed on the top of the candle, but we just added them straightaway and it seemed to work. The metal wick tabs will help the wick sink to the bottom, and you’ll need to make sure it’s gone down as straight as possible. The wicks won’t support themselves while the wax is still melted, so we then threaded the top of the wick through the hole in the wooden stirrer to hold them up, and placed the stirrer over the top of the mould like so:
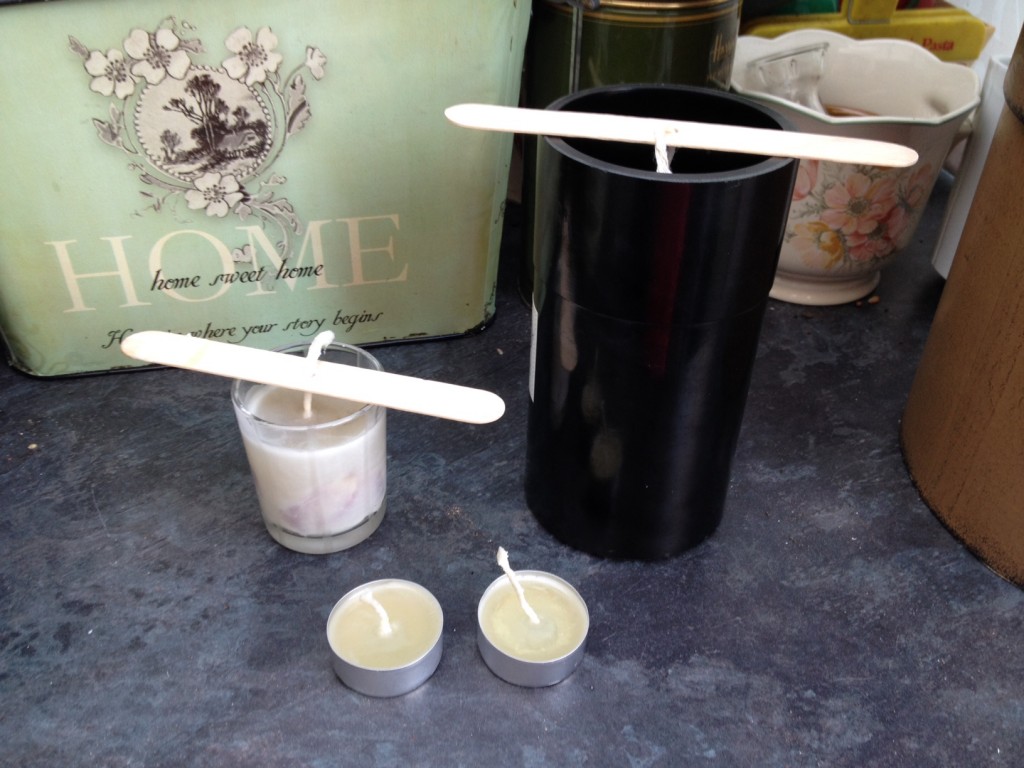
The little ones didn’t need their wicks supporting.
Step 6
Leave a little bit of wax to one side in case a well forms around the wick as it dries, so that you can top it up if need be (ours didn’t do this, but it said in the instructions that they might). Then leave the candles in their moulds to set for a day.
Step 7
Once they’ve set, remove the wooden stirrers and trim the wick to an appropriate length if necessary. Any candles you’ve made in glass jars are now ready to burn immediately. Any candles in moulds should come straight out ready to have their wick trimmed; if they don’t come out straightaway, apparently putting them in the fridge for an hour or two will help loosen them up.
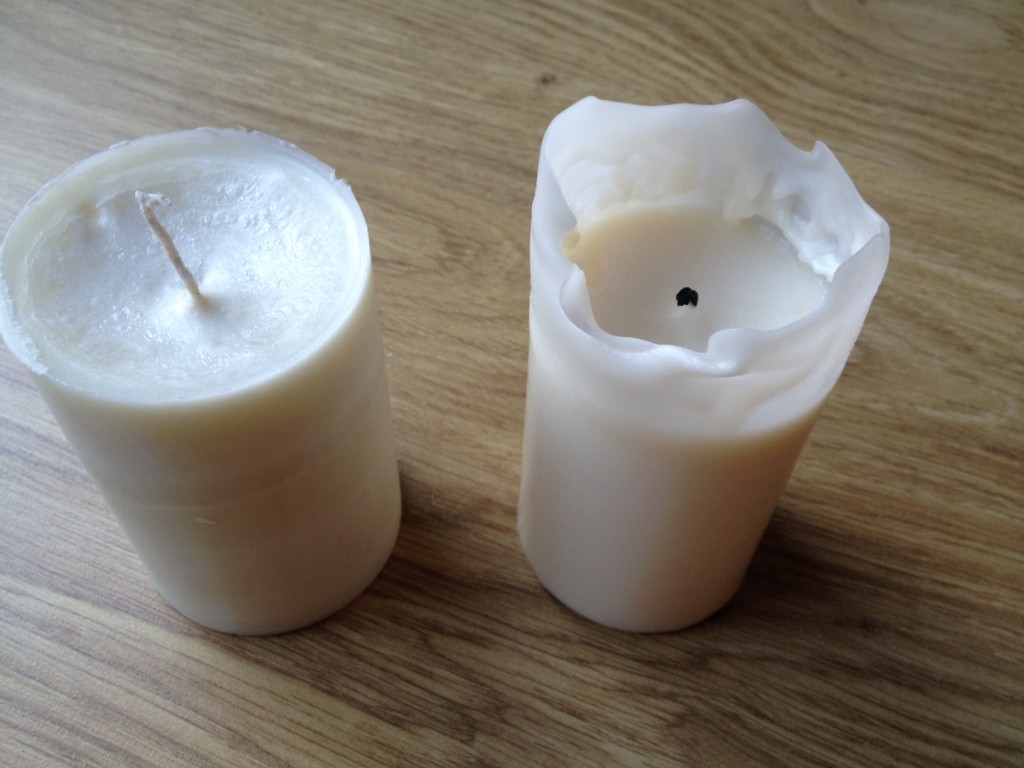
Here’s a pic of the main candle we made in the mould, before burning (on the left, with an Ikea candle on the right for comparison):
And when lit:
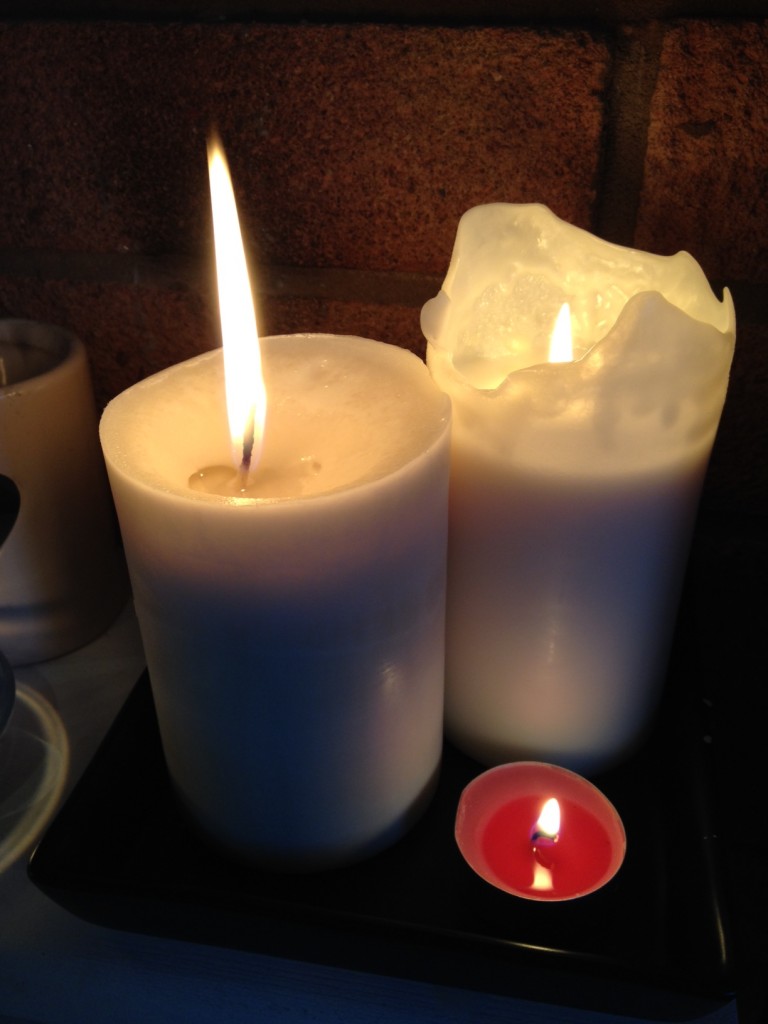
It burned well, as you can see from the tall flame! But it also burned very quickly, sending wax flowing over the edge of the candle holder and all over the rug – oops. Next time I think we need to experiment with the amount of stearic acid to try and make the candles last longer. Also, we noticed that the candles smelt really bad when they burn, so next time I think some form of nice scent is in order! Still, not bad for a first attempt, and there’s loads of scope for trying new styles, sizes, decorations and so on.
The kit we used is available along with a range of other candle-making equipment from Hobbycraft here. It’s a good starter kit and costs a modest £20.
Natalie
April 17, 2014 at 7:03 am (12 years ago)Thank you so much for the blog – very interesting! I too have bought the kit and found some of the instructions a bit confusing, but you have answered a lot of my questions.
I’m now looking forward to having a go a candle making :)
Rachel McCombie
April 17, 2014 at 9:29 am (12 years ago)Hi Natalie, thanks for your comment – I hope you enjoy your candle-making session and glad my post helped clarify the confusing instructions! Enjoy :)